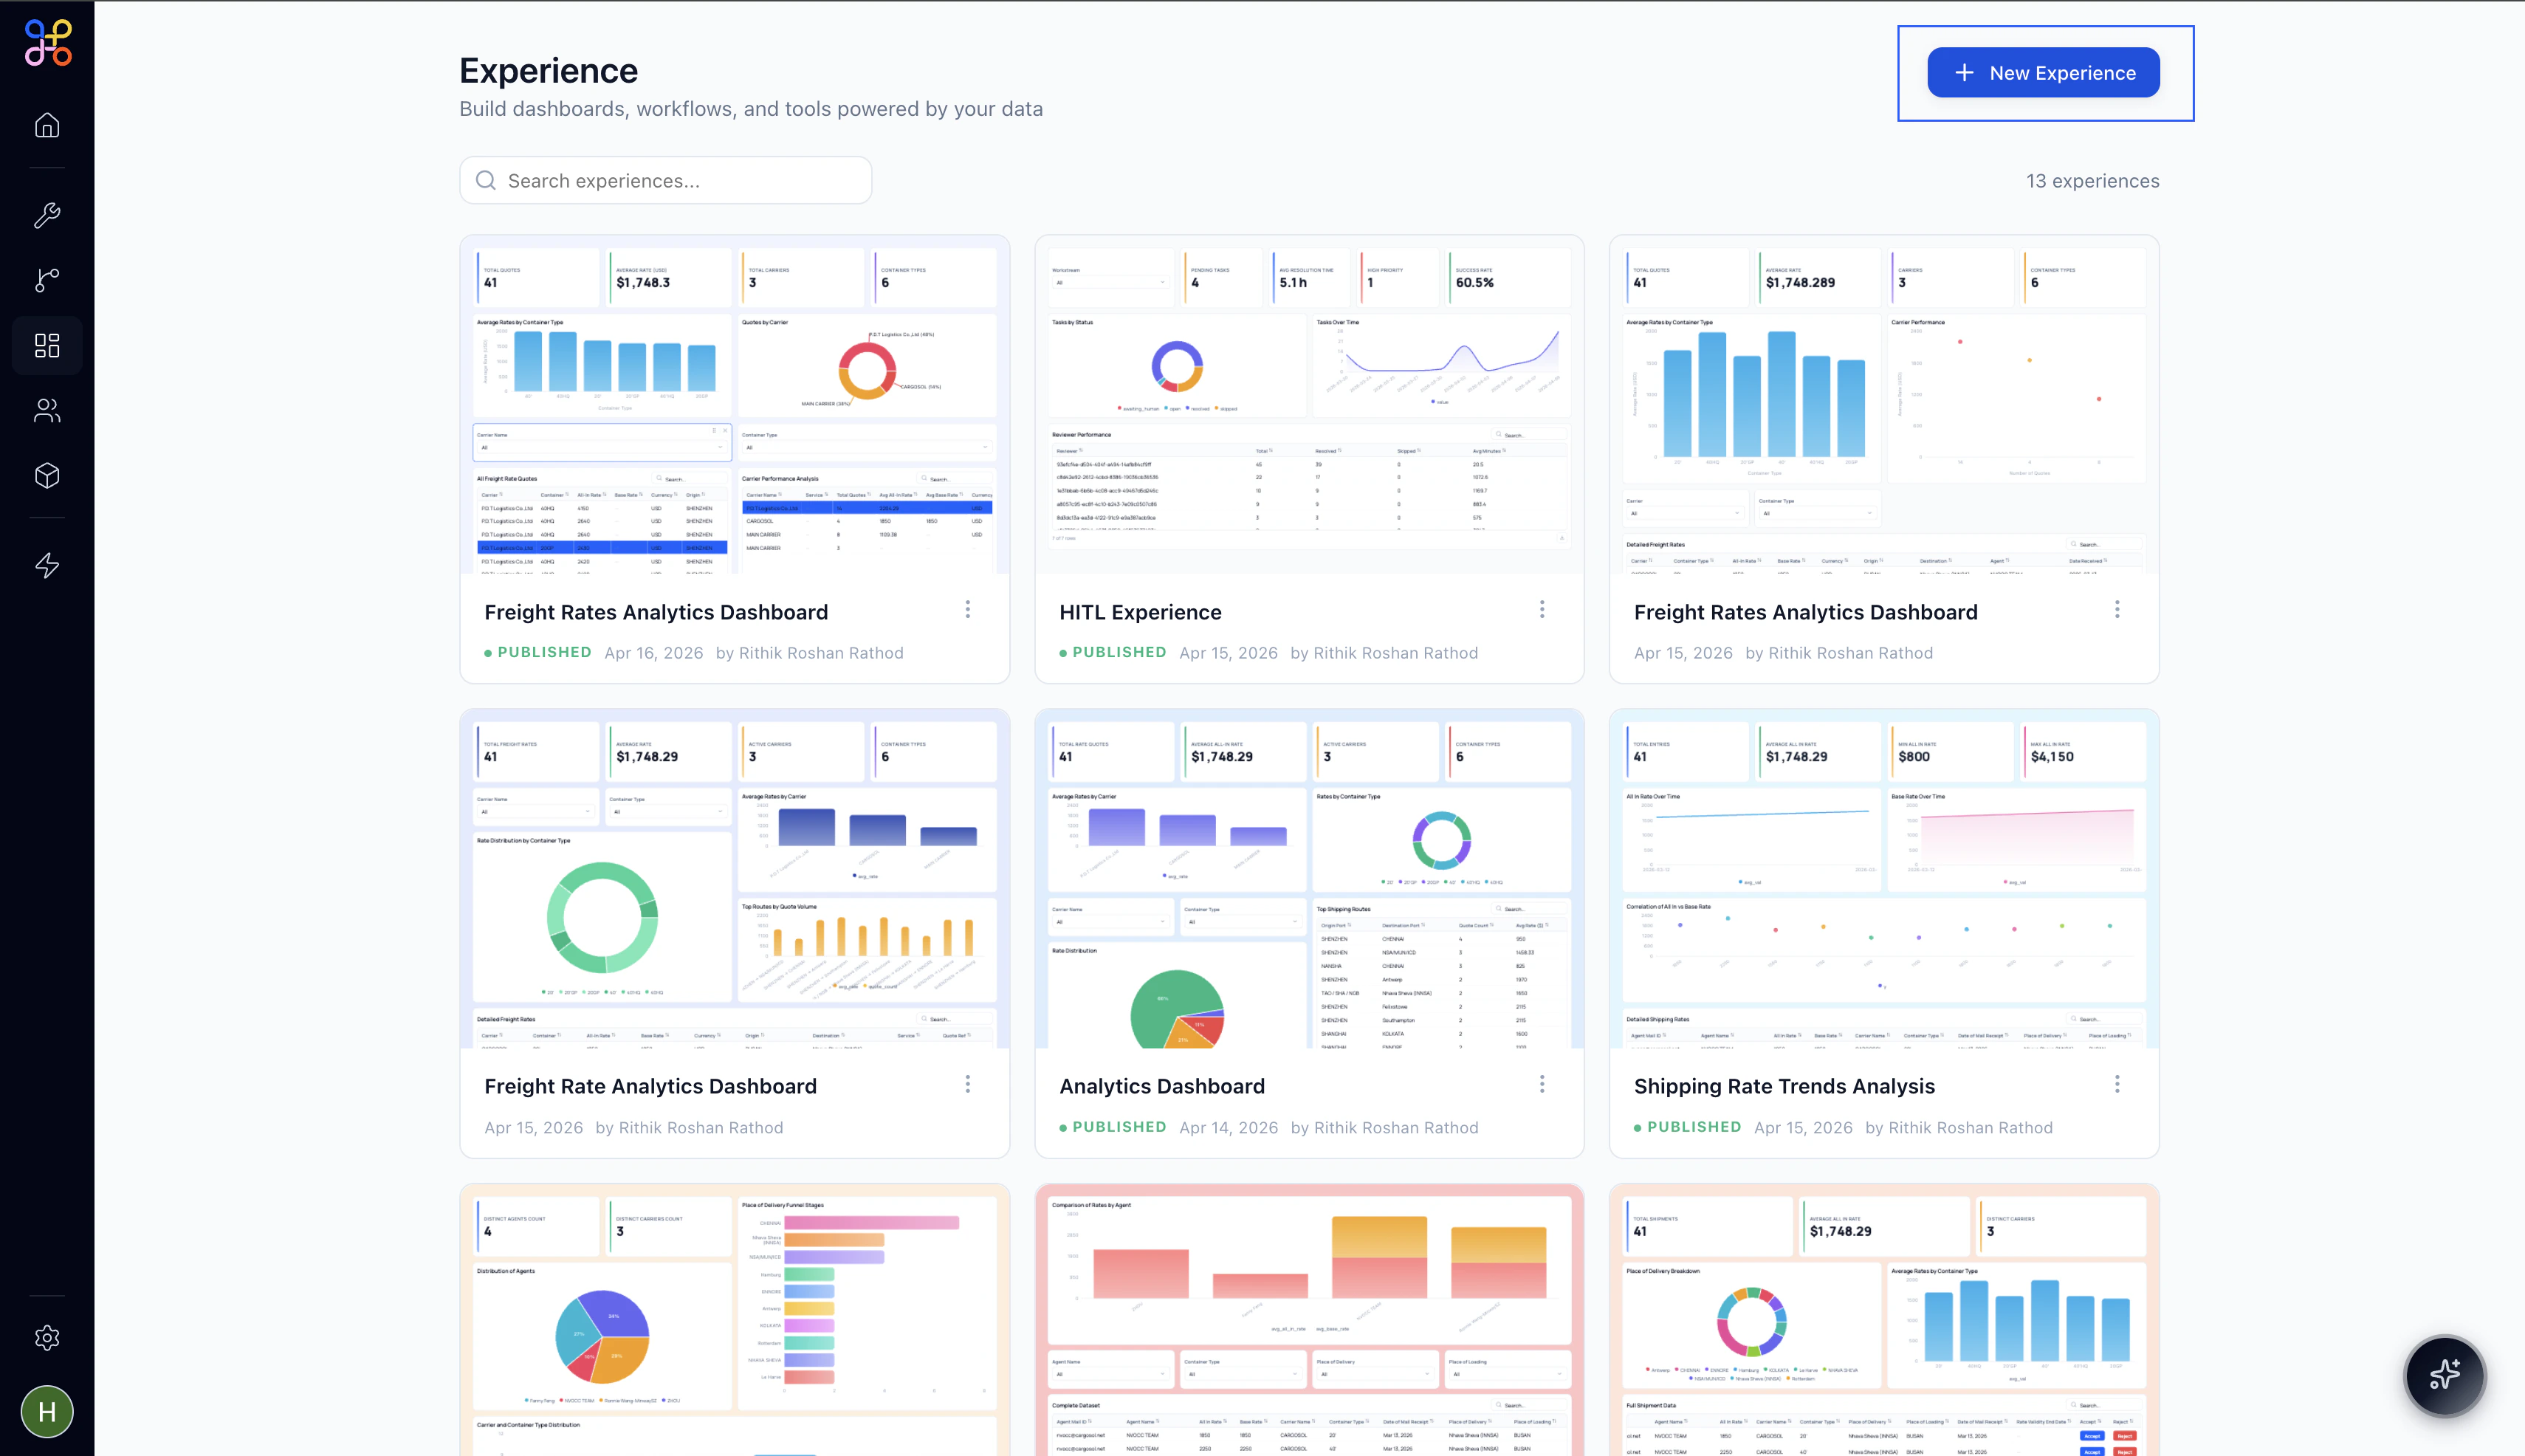
Starting a New Experience
From the Experience dashboard, click+ New Experience in the top right corner.
Naming Your Experience
Click directly on Untitled Experience in the top bar to rename it. The title becomes an editable text field — type your name and pressEnter or click away to save.
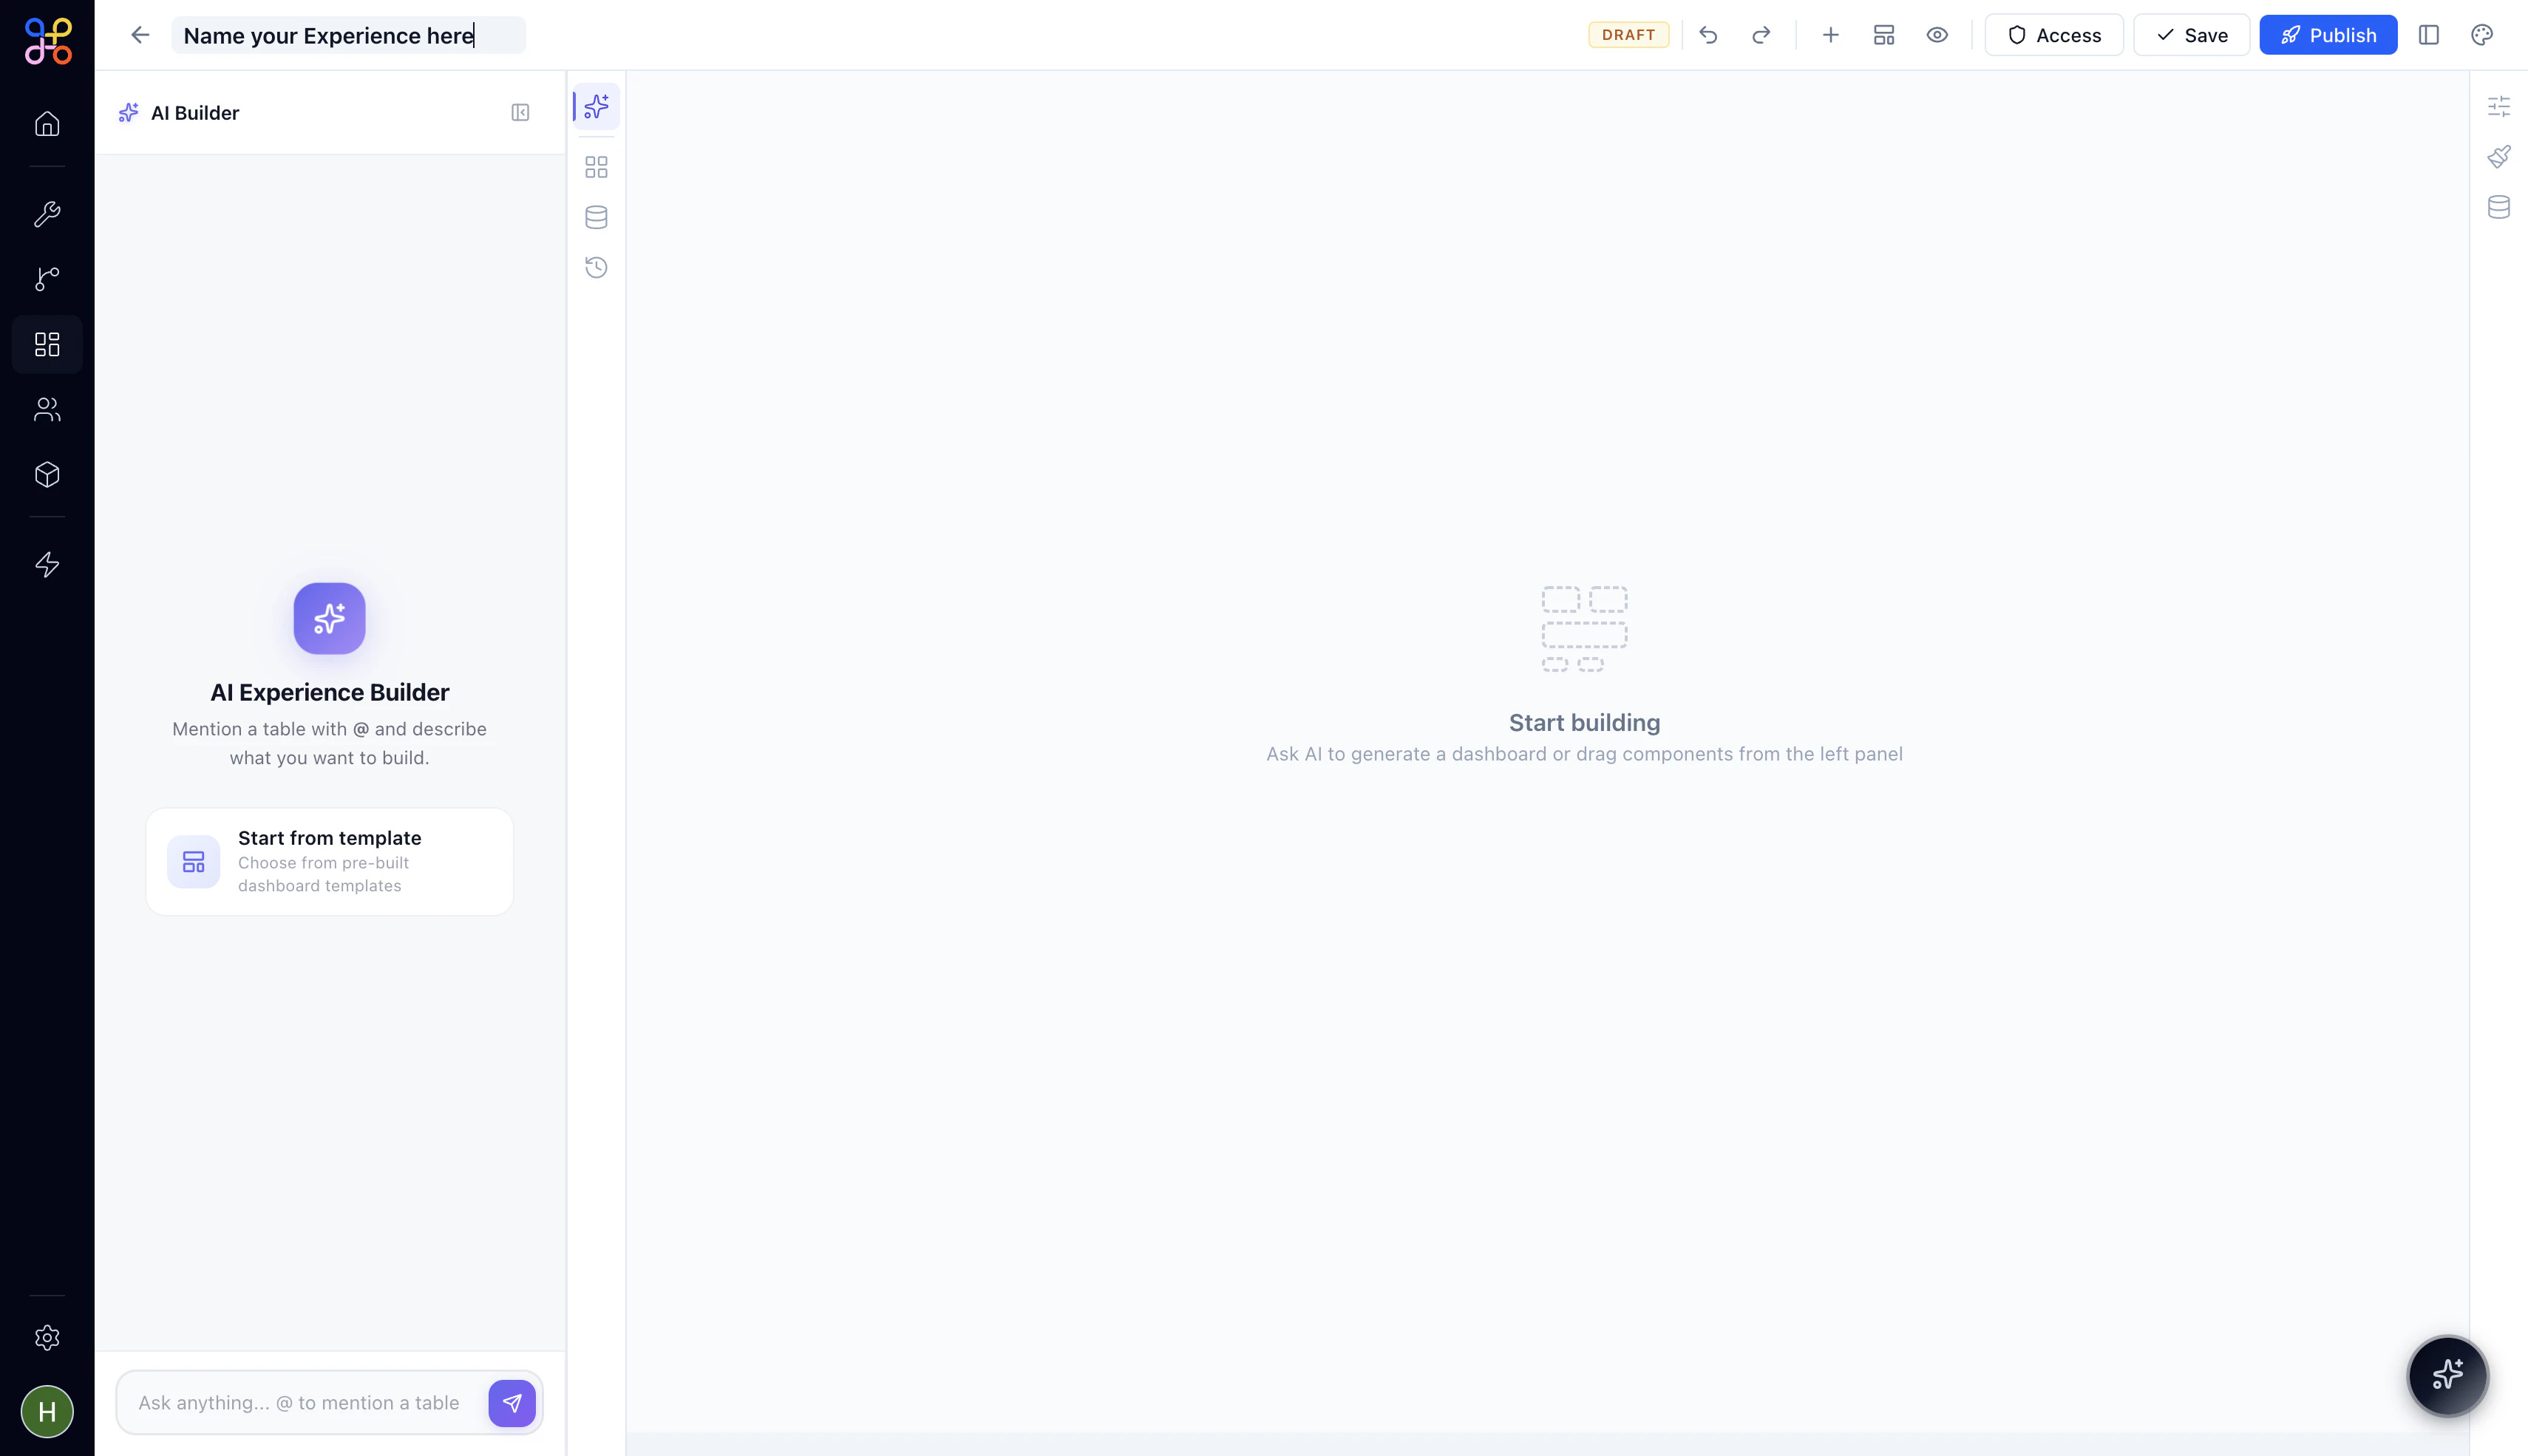
Choosing How to Build
A new Experience opens with the AI Builder panel active on the left. You have two starting options:- AI Builder
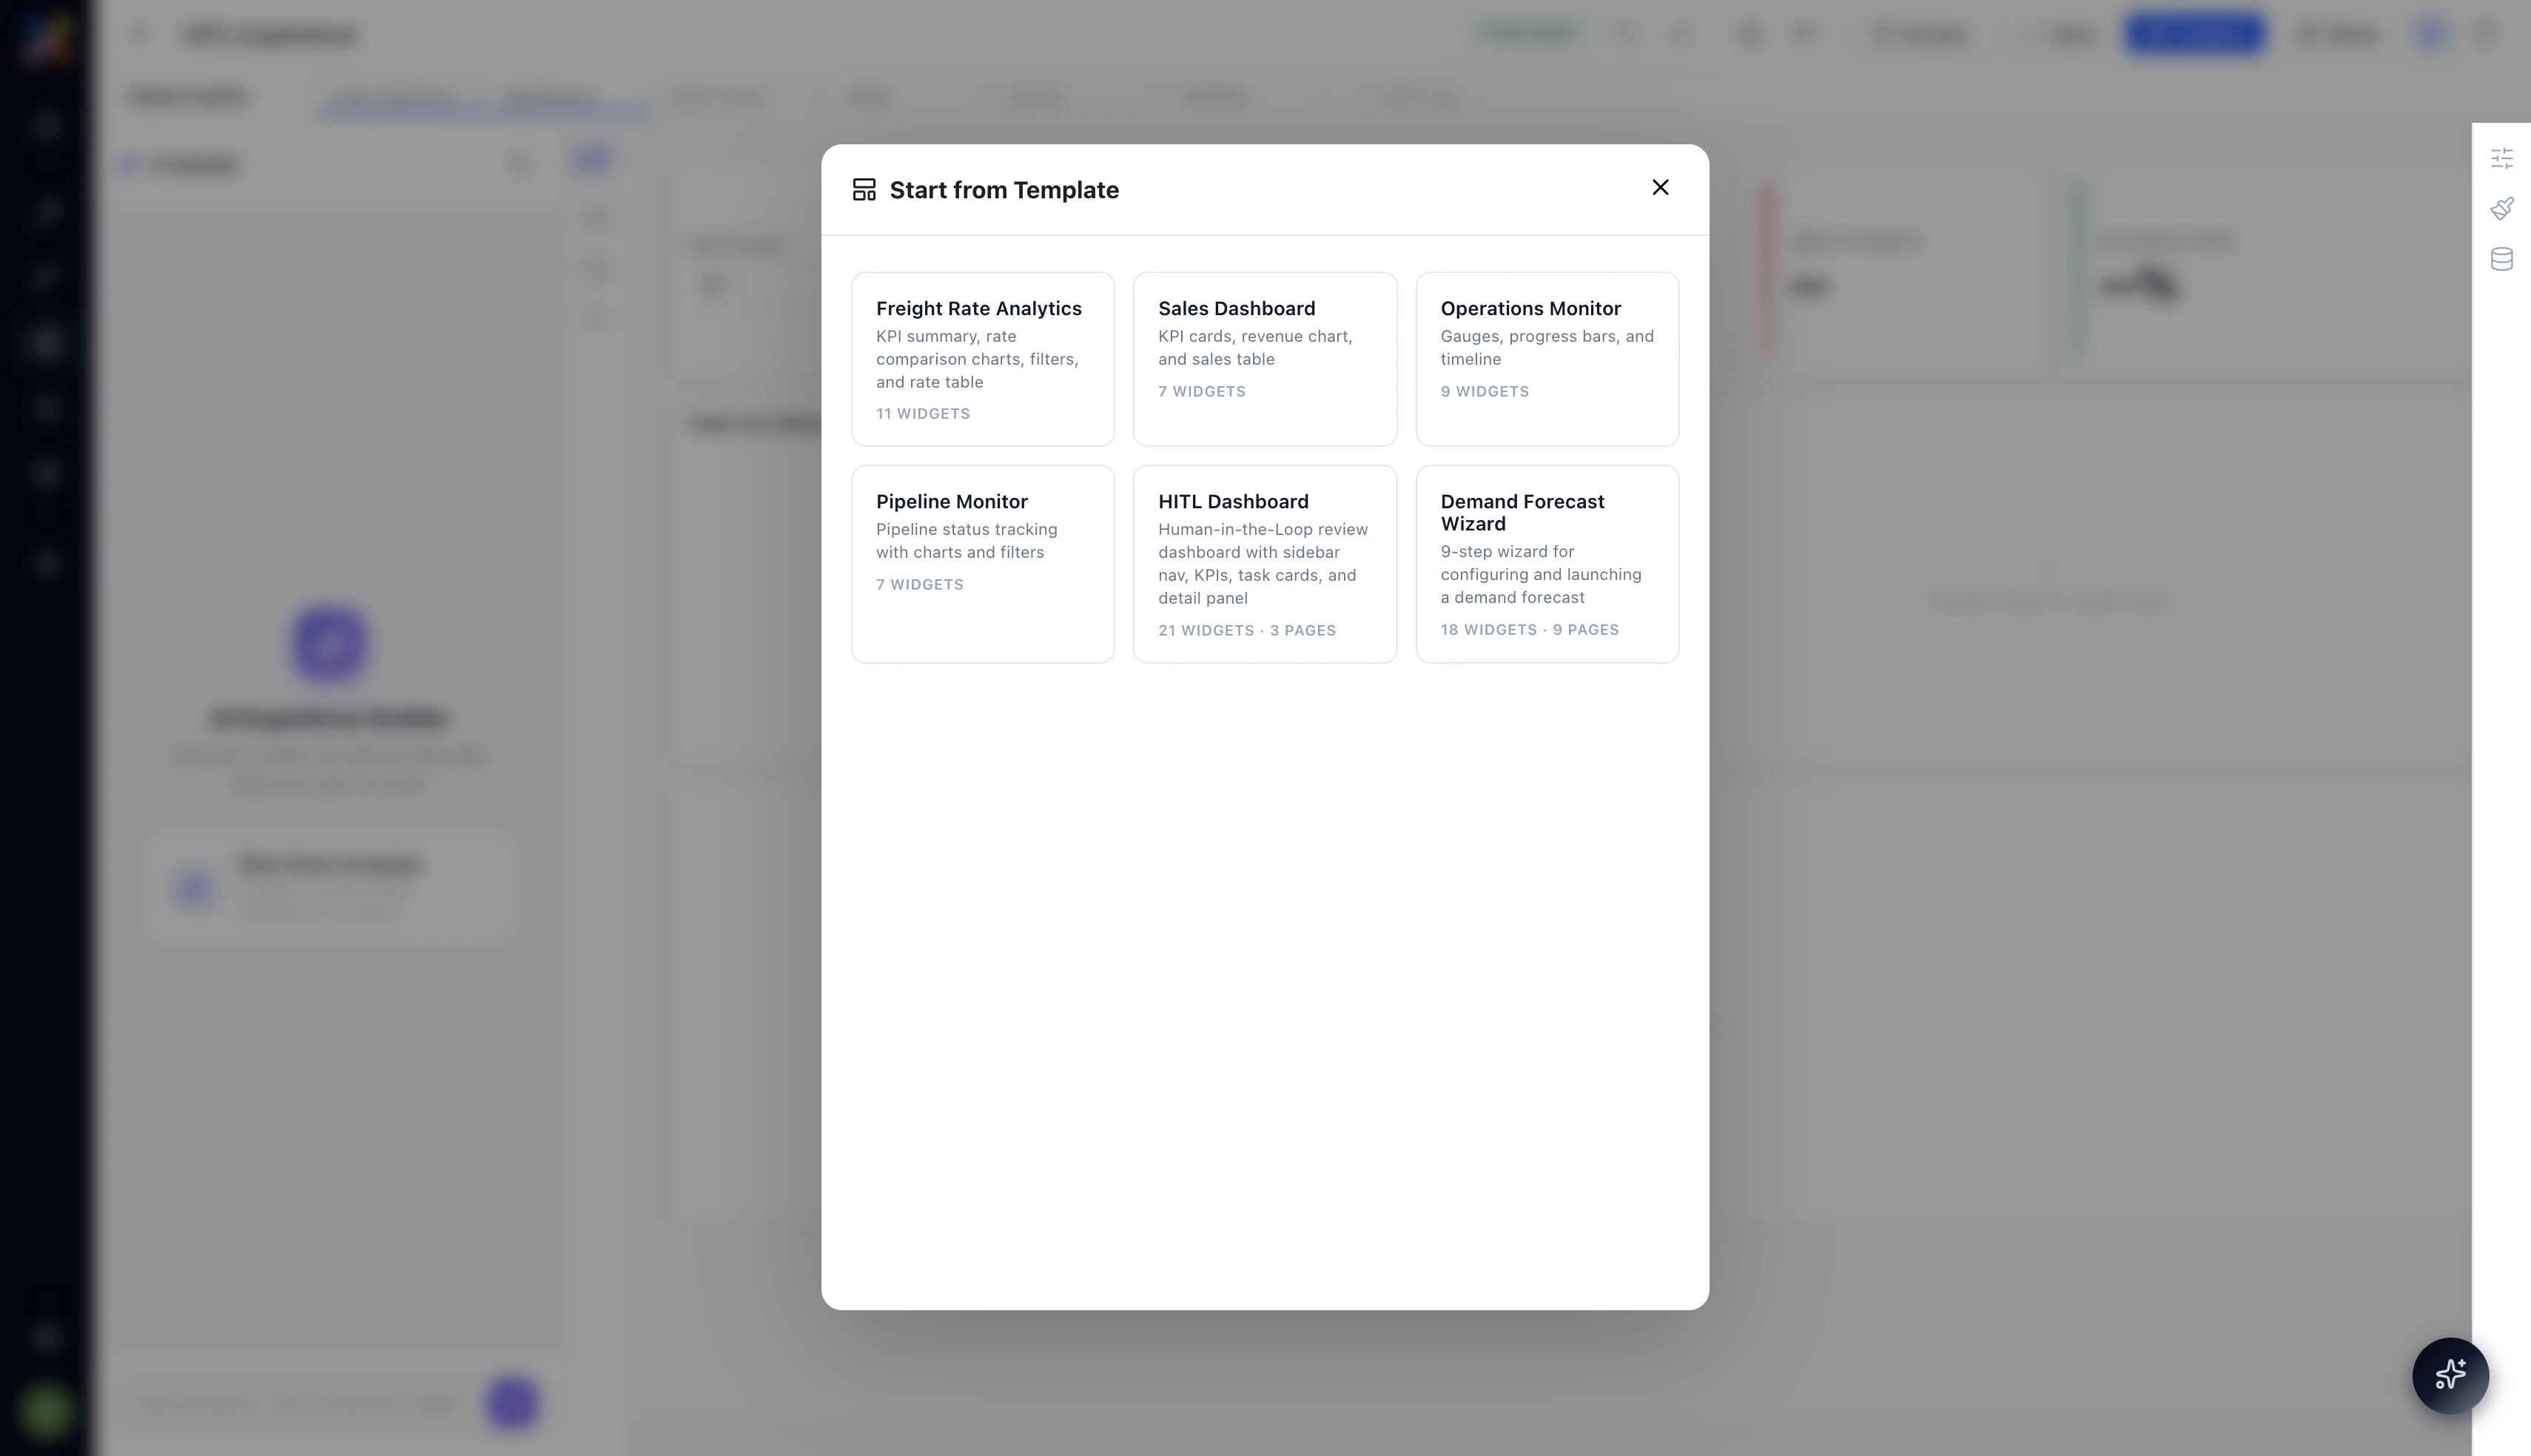
- Start from Template
The AI Builder lets you describe what you want in plain language and generates a starter layout for you. Mention a data table using The AI generates widgets, lays them out on the canvas, and connects them to the table you referenced. You can then refine from there — edit any widget, add new ones, or restructure the layout.Best for:
@ to give the AI context about your data, then describe the dashboard or tool you want to create.For example:- Quickly scaffolding a layout when you have a clear idea of what you need
- Exploring what’s possible with a particular dataset
- Getting 80% of the way there fast, then fine-tuning manually
Managing Pages
Every Experience can have multiple pages — each page is a separate view accessible from the left nav in the published Experience. Pages appear as tabs along the top of the builder canvas.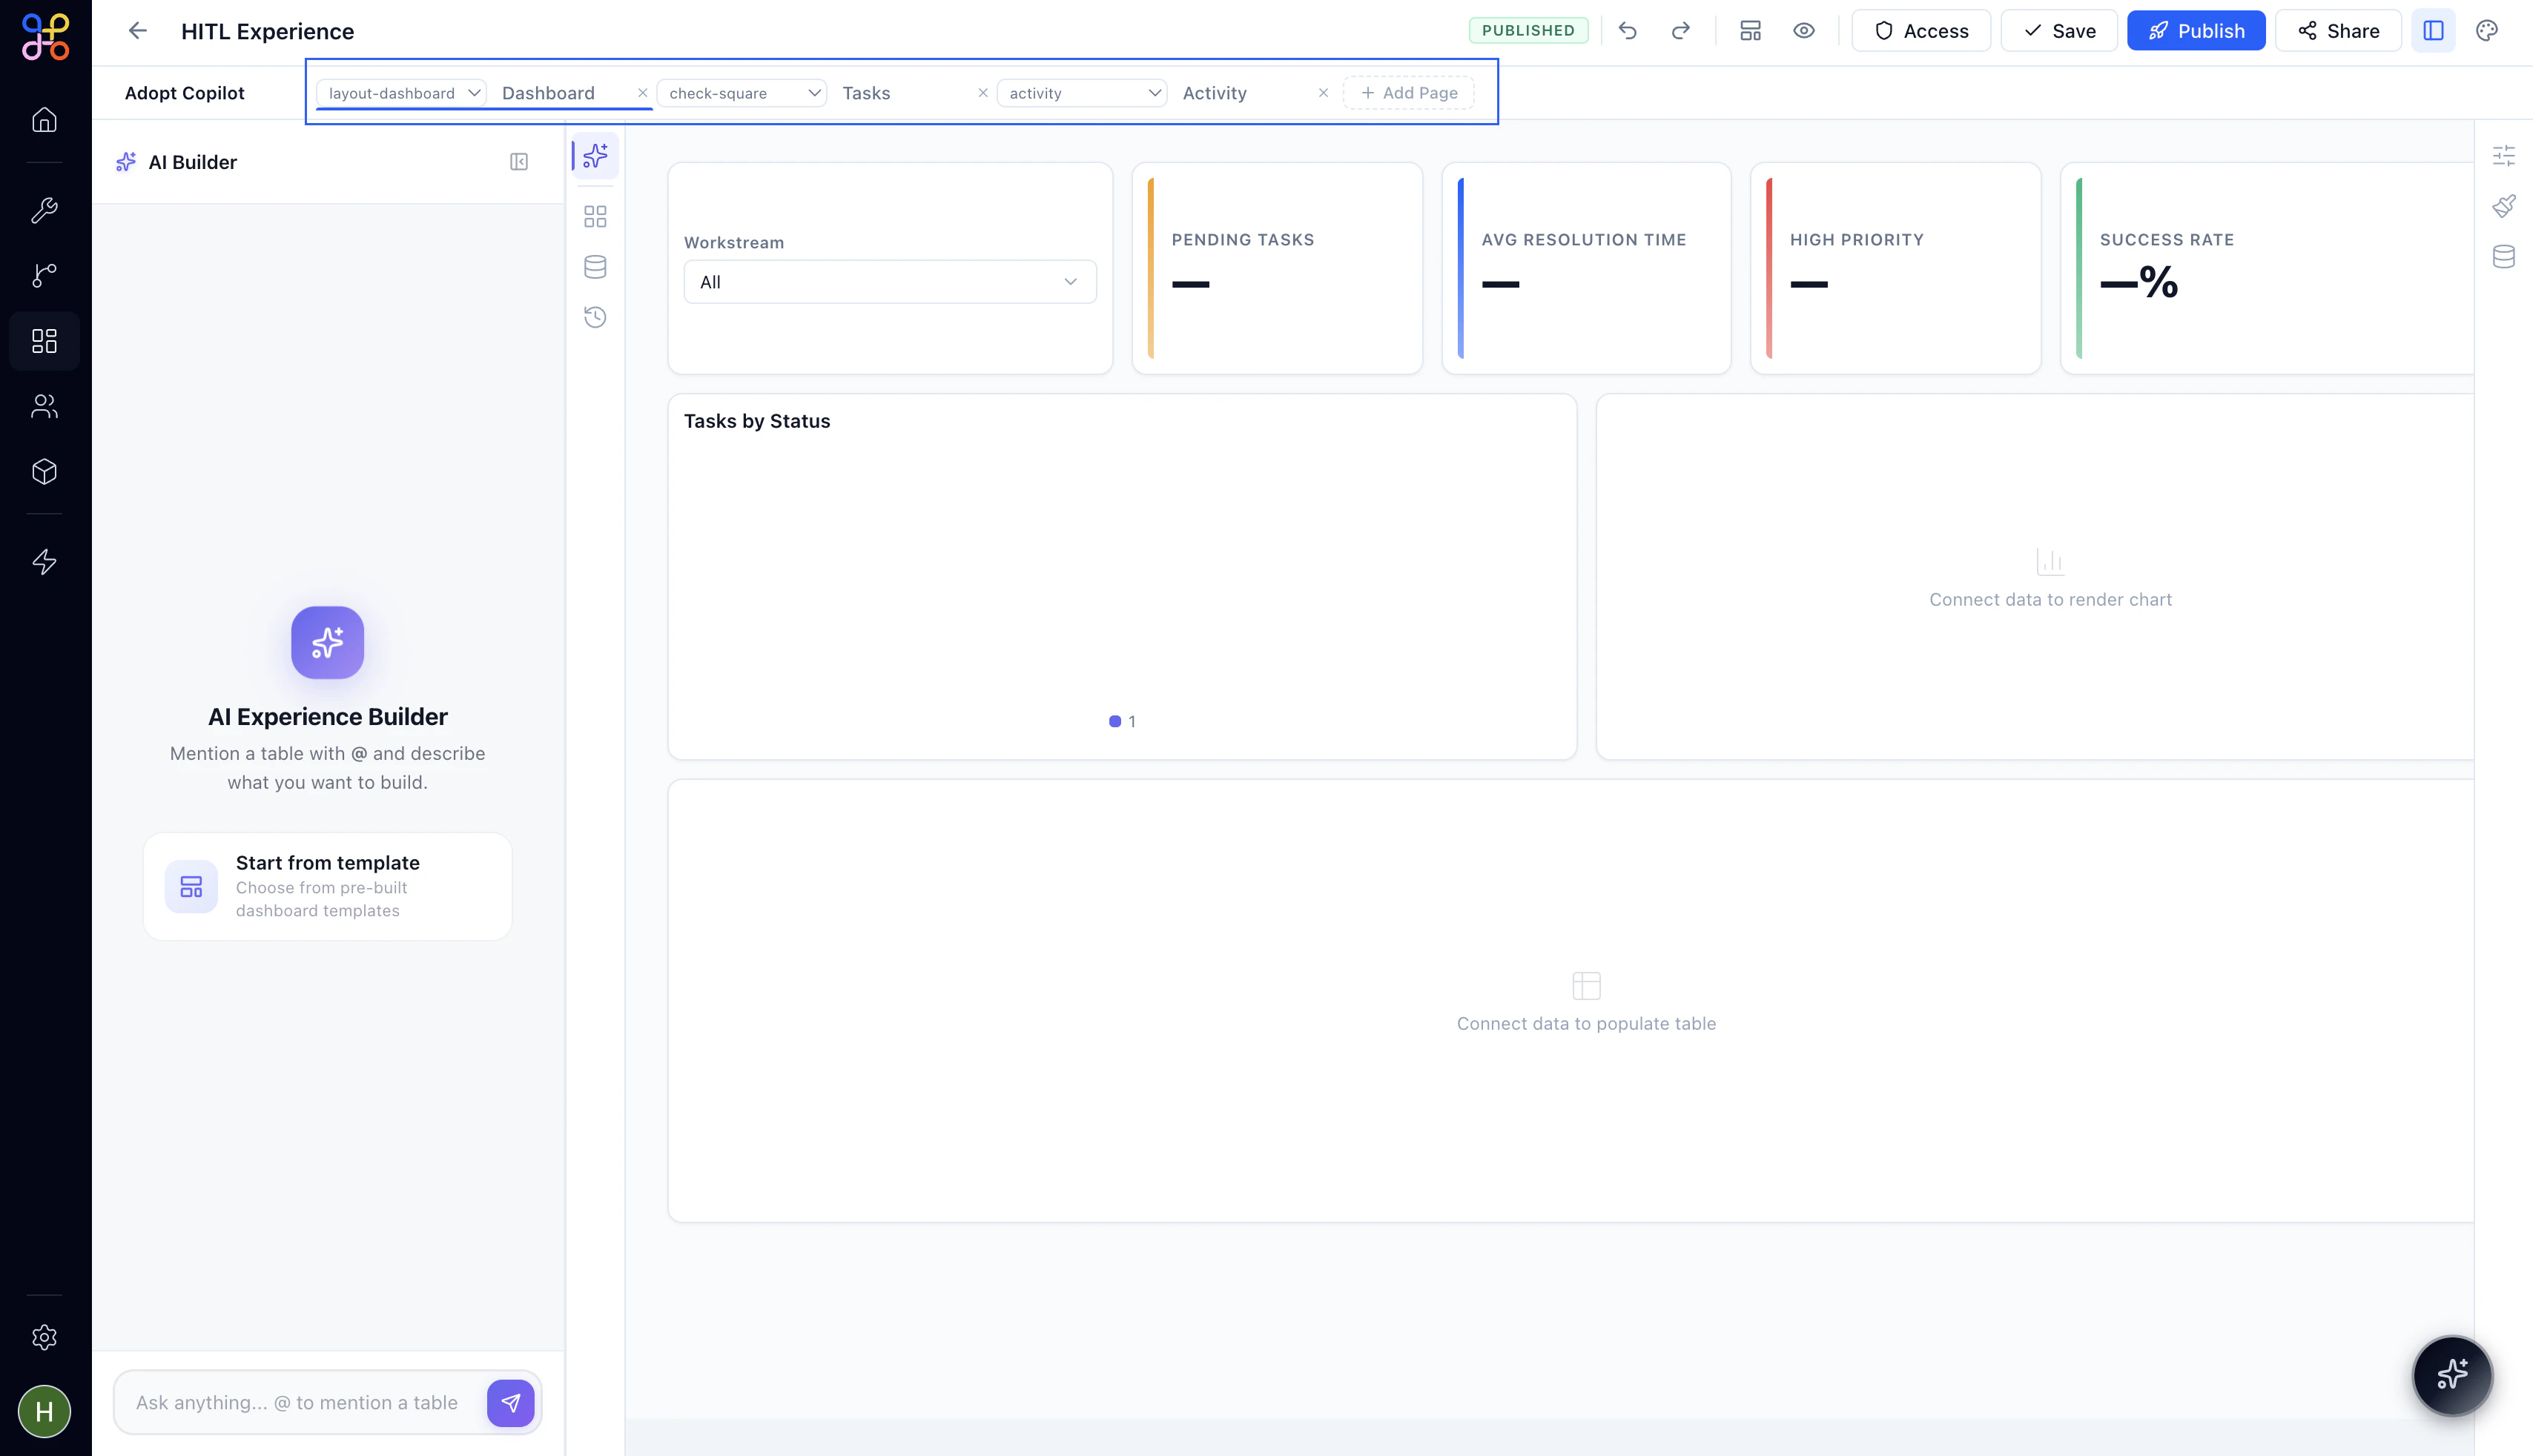
Adding a Page
Click+ Add Page at the end of the page tab row to create a new blank page. Give it a name — this becomes the label shown in the Experience’s left nav when published.
Setting a Page Icon
Each page tab has an icon type dropdown to the left of the page name. Click the dropdown to choose the icon that appears next to the page name in the published nav. Icon types map to common page purposes — dashboard layouts, task views, activity feeds, and more.Reordering and Removing Pages
Drag page tabs left or right to reorder them. To remove a page, click the× on its tab. The first page in the tab order becomes the default landing page when someone opens the Experience.
What’s Next
With your Experience named and your starting layout chosen, you’re ready to build. The left panel gives you everything you need — components to drag onto the canvas, data connections to hook up, and the AI Builder standing by for anything you want to describe rather than drag.Next Steps
- Explore the Experience Builder to understand every panel and control
- Add components to your pages
- Connect your pipeline data to power the widgets